
Activate a Network License

Aug 25, 2025
In this article we explain the process for installing a network license using the online activation method.
Before You Start
- This process assumes the host operating system is Windows Server 2019.
- Installing an online activation license requires the following:
- An internet connection that allows outbound traffic on port 80.
- The serial number (or activation ID) for your license.
How to Install the License
- On the 'Windows Taskbar', click on the 'Start' button (shortcut: Windows logo key or Ctrl + Esc).
- Open the 'Seequent' folder (Geo-Slope for older installs).
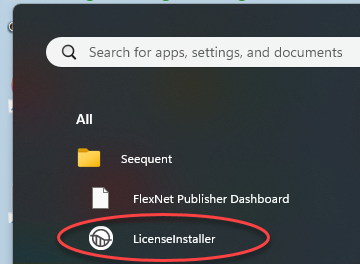
- Click on 'LicenseInstaller'.
- Select 'Add Licenses' from the pane on the left.
- Click on the button to 'Install Licenses...'.

- Enter your serial numbers when prompted and click on the 'Next >' button.

- Once the activation process finishes, your network licenses are available for use.
Things to Consider
- There is no license file associated with an online activation license. The data is stored via encryption directly on your hard drive.
- Uninstalling lmadmin does not uninstall any licenses.
- If you uninstall lmadmin and forget to return your license, the activation still resides on the computer.
- If you have uninstalled lmadmin and the activation is still on the computer, you can simply re-install lmadmin to access and return the license.
- Major changes to the computer's hardware, or re-hosting a virtual machine, can invalidate the activation. First, return your licenses before making such changes. Refer to the following link for more information:
Installing GEOSLOPE software in a Virtual Environment

